Most gardeners assume hellebores are bulletproof because they bloom in winter, but the truth is they can look ragged and exhausted within days if you skip a few simple steps. These tough perennials deserve more than neglect—they reward attention with weeks of crisp, nodding blooms that outlast nearly everything else in the garden.
Right now, in late December 2025, hellebores are pushing through frozen mulch across the United States while most plants are dormant. But if you want those elegant flowers to stay fresh and upright instead of browning at the edges, you need to act during this narrow window.
Know what you’re growing: Lenten rose vs. the rest
Not all hellebores behave the same way. Helleborus orientalis, commonly called Lenten rose, is the most popular species in American gardens. It blooms from late winter through early spring and tolerates more shade than its cousins.
Helleborus niger, or Christmas rose, flowers earlier—often in December or January—and prefers slightly more sun. Helleborus foetidus (stinking hellebore) and Helleborus argutifolius are evergreen shrubby types that need less fussing.
Knowing your species matters because Lenten roses benefit from aggressive leaf removal, while the shrubby types should keep most of their foliage intact. Check your plant tag or look at the leaf shape: Lenten rose leaves are deeply divided and leathery, Christmas rose leaves are smaller and more rounded.

Winter cleanup: which leaves to remove right now
This is the single most important task for hellebores in late December. Old foliage from last year often looks tired, spotted with fungal marks, or flopped over the emerging flower buds. Cut away all the old leaves at the base using clean bypass pruners.
Don’t worry about being too aggressive. The plant is about to push fresh foliage anyway, and removing the old stuff does three things: it prevents fungal spores from splashing onto new blooms during winter rains, it lets you see the flowers clearly, and it improves air circulation around the crown.
If you live in a colder zone (USDA 5 or 6), wait until you see flower buds emerging before you prune. In milder zones (7 through 9), you can prune anytime from mid-December through January. Always compost or discard the old leaves—don’t leave them lying around the base of the plant.
Soil and mulch tips for bigger, longer-lasting blooms
Hellebores are woodland plants at heart, so they thrive in rich, moisture-retentive soil with plenty of organic matter. If your soil is sandy or compacted clay, work in a 2-inch layer of compost or aged leaf mold around the root zone right now.
Avoid piling mulch directly against the crown—hellebores hate wet feet and can develop crown rot. Instead, spread a 1- to 2-inch layer of shredded bark or leaf mulch in a donut shape around the plant, leaving a 3-inch gap at the center.
If you haven’t fertilized in the past year, apply a slow-release granular fertilizer (something balanced like 10-10-10 or an organic equivalent) in early January. Scatter it around the drip line, not at the crown, and water it in gently. This feeds the plant as it’s producing flowers and setting seed, which takes a lot of energy.
Hellebores also appreciate a light topdressing of lime every few years if your soil is acidic. They prefer neutral to slightly alkaline pH (around 7.0 to 7.5). A soil test is the best way to know for sure.

Frost and wind protection: when and how to shelter blooms
Hellebores tolerate freezing temperatures, but the flowers themselves can suffer in harsh wind or during rapid freeze-thaw cycles. If a hard freeze is forecast (below 20°F or -6°C), consider covering your hellebores with a lightweight frost cloth or an upturned laundry basket overnight.
Don’t use plastic—it traps moisture and can cause more damage. Remove the cover as soon as temperatures rise above freezing during the day.
Wind is often more damaging than cold. If your hellebores are planted in an exposed spot, create a temporary windbreak using burlap stapled to stakes, or move potted hellebores to a more sheltered location near a wall or fence.
In zones 7 and warmer, frost protection is rarely needed. Focus instead on keeping the soil evenly moist—hellebores slow down or drop buds if they dry out during bloom time.
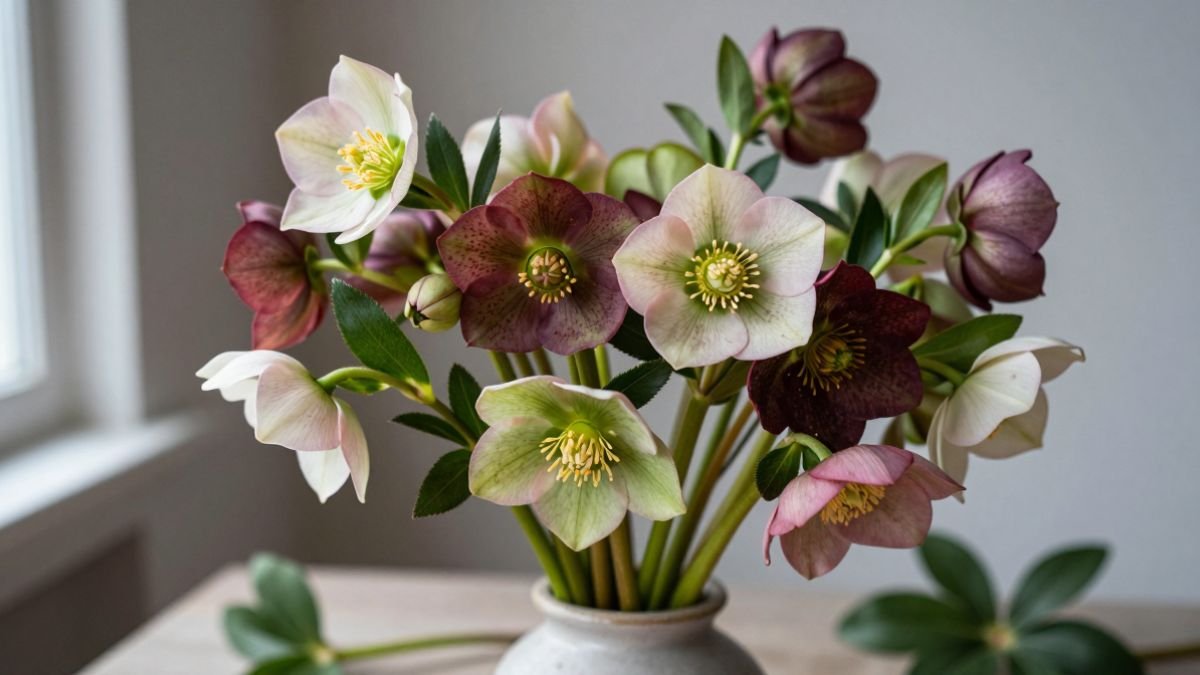
How to cut hellebores for a vase without droop
Hellebore flowers are notoriously tricky as cut stems because they wilt within hours unless you prep them correctly. The problem is that they draw water through their stems slowly, and the cut end seals up fast.
Here’s the method that works: Cut stems early in the morning when they’re fully hydrated. Choose flowers that have been open for at least a week—newly opened blooms wilt faster. Use sharp scissors and cut stems as long as possible.
Immediately after cutting, slit the bottom 2 inches of each stem vertically using a sharp knife, or smash the stem end gently with a hammer. This increases the surface area for water uptake.
Place stems in a bucket of hot (not boiling) water and let them sit in a cool, dark place for at least four hours, ideally overnight. This conditioning step is non-negotiable. After conditioning, arrange them in fresh water with a floral preservative.
Change the water every two days and recut the stems slightly. Conditioned hellebores can last up to two weeks in a vase, especially if you keep them in a cool room away from direct sun.

What to do next: your January hellebore checklist
As we move into January 2026, your hellebores will be in full bloom or close to it. Here’s your simple maintenance plan:
- Water weekly if there’s no rain, especially in zones 8 and 9 where winter can be dry.
- Watch for aphids on flower stems and buds—spray them off with a strong jet of water.
- Deadhead spent blooms only if you don’t want seedlings; otherwise, let the seed pods develop (they’re attractive and hellebores self-sow beautifully).
- Mark your calendar for late spring: that’s when you can divide crowded clumps or transplant hellebores to new spots.
Hellebores are among the most rewarding perennials you can grow, but they’re not entirely hands-off. A little attention right now—pruning, feeding, and protecting—will keep those nodding blooms looking crisp and fresh for weeks, giving you color and structure when almost nothing else is flowering. Take thirty minutes this week to clean them up, and you’ll be rewarded with one of the best shows in the winter garden.