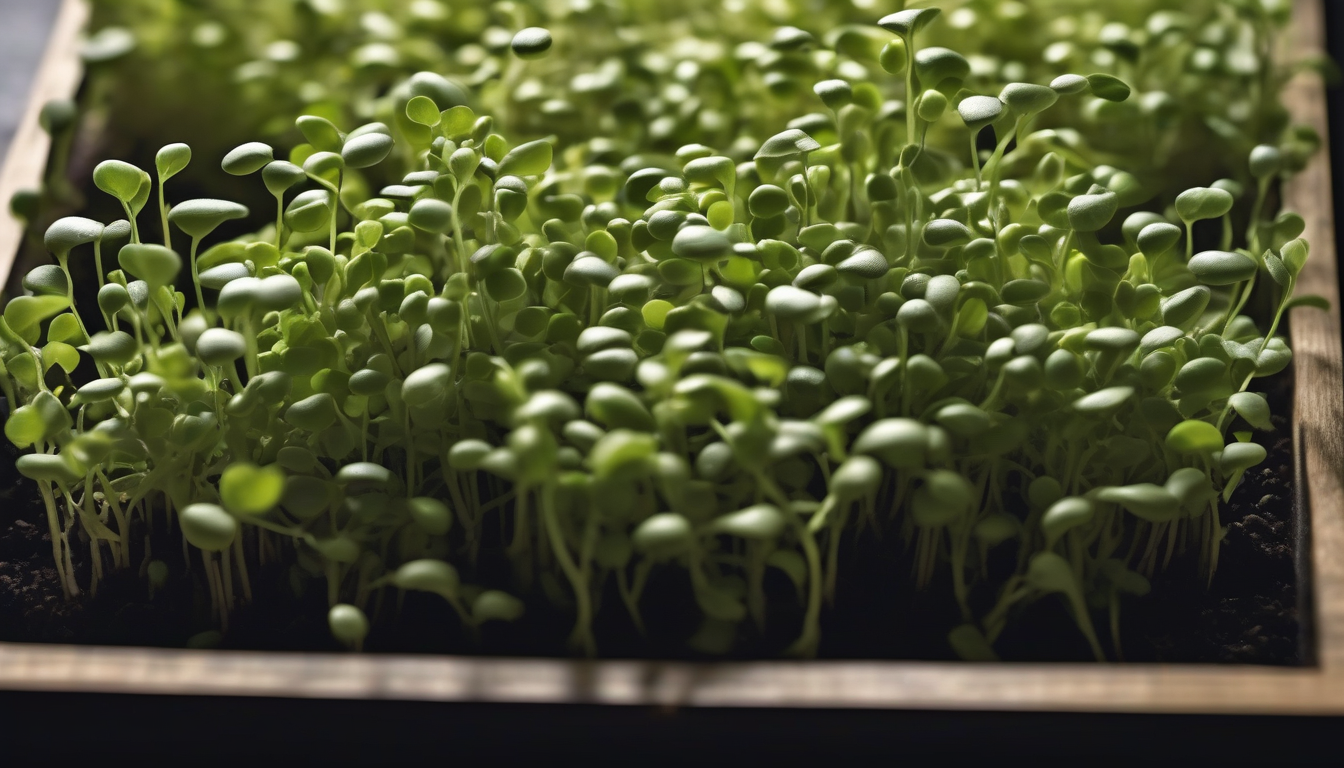
Most gardeners think pea shoots need to be thin and delicate. They’re wrong. The best pea microgreens are thick, crunchy, and sweet—not those spindly, pale threads that flop over at the first sign of moisture. The difference comes down to five decisions you make in the first 48 hours.
Pea microgreens have surged in popularity across the United States this winter, and for good reason. They’re one of the few crops you can grow indoors in December with zero special equipment, and they deliver restaurant-quality flavor in 10 days. But most first-timers end up with disappointing results because they follow generic advice that doesn’t account for how peas actually germinate.
Here’s everything you need to grow thick, sweet pea shoots—the kind that snap when you bite them.
Soaking time: the 8-hour rule
Pea seeds are large and dense. If you plant them dry, germination is uneven and slow. Soak them for 8 to 12 hours in room-temperature water. Any longer and you risk early fermentation, especially in warm kitchens.
After soaking, drain completely. The seeds should feel swollen but not slimy. If you see foam or smell anything sour, rinse them and start over. This step alone will give you a 48-hour head start on germination.
Seed density: pack them tight
This is where most guides get it wrong. Pea microgreens grow best when planted densely—about 2 to 3 ounces of dry seed per 10×20-inch tray. You want the seeds touching but not stacked.
Why? Dense planting forces the shoots to grow upward instead of sprawling. The result is taller, straighter stems with better texture. Sparse planting gives you weak, floppy shoots that tangle and mat.
Press the seeds gently into moist soil or a growing mat. Don’t bury them. Peas germinate in darkness, so coverage comes next.
Blackout duration: 4 to 5 days under weight
Pea shoots need pressure and darkness to develop thick stems. After planting, cover the tray with another tray or a flat board, and add 5 to 10 pounds of weight on top. A bag of flour, a few books, or a jug of water works.
Leave them in complete darkness for 4 to 5 days. The weight forces the stems to push hard as they grow, building strength and thickness. This is the secret to restaurant-quality texture.
Check once at day 3. If the shoots have lifted the weight and reached 2 to 3 inches, they’re ready to uncover. If not, give them another day.

Watering without rot: bottom-feed only
Root rot and mold are the biggest killers of pea microgreens, and both come from overwatering. Never spray or mist from above. Instead, water from the bottom.
Place your growing tray inside a larger tray. Pour water into the bottom tray and let the soil or mat wick it up for 10 to 15 minutes. Then dump any excess.
Do this once after planting, and again after you remove the blackout cover. By day 7, the roots will be dense enough to drink heavily—water daily from the bottom, but only until the mat feels moist, not soaked.
Good airflow is critical. If you’re growing indoors, point a small fan across the trays (not directly at them). This prevents the humid, stagnant air that invites mold.
When to uncover: look for the lift
Uncover your pea shoots when they’ve lifted the weight and reached 2 to 3 inches tall. The stems should be pale yellow or white, and the leaves will still be folded.
Move the tray into indirect light—a bright room or a spot near a window, but not direct sun. Direct sun at this stage will scorch the tender shoots.
Within 24 hours, the leaves will unfurl and turn green. This is when photosynthesis kicks in and the flavor develops. Let them grow another 3 to 5 days under light.

Ideal harvest height: 6 to 8 inches
Harvest pea microgreens when they reach 6 to 8 inches tall and have fully opened leaves. At this stage, the flavor is sweet and grassy, with a crisp, juicy snap.
If you wait too long, the shoots become fibrous and bitter. If you harvest too early, they’re bland.
Use scissors to cut just above the soil line. Rinse gently in cold water and spin dry. Pea shoots bruise easily, so handle them carefully. Store in the fridge in a breathable container lined with a paper towel. They’ll keep for 5 to 7 days.
Is a second cut worth it?
Pea microgreens can regrow after the first harvest, but the second cutting is always weaker—thinner stems, smaller leaves, and less flavor. The plant has already spent most of its stored energy.
If you want to try it, cut high (leave at least one node with a leaf), water immediately, and give them another 7 to 10 days. Expect about 30% of the original yield.
Most growers find it’s faster and more productive to simply replant. Pea seeds are inexpensive, and a fresh tray gives you better results every time.

Troubleshooting common problems
Spindly, weak shoots: Not enough seed density or insufficient weight during blackout. Pack tighter next time and add more weight.
Yellow leaves after uncovering: Too much direct sun too fast. Move to indirect light for the first day.
Mold on soil surface: Overwatering or poor airflow. Water less, add a fan, and make sure your growing space isn’t too humid.
Sour smell: Seeds fermented during soaking or tray stayed too wet. Shorten soak time and improve drainage.
Why December 2025 is the perfect time to start
As of mid-December 2025, indoor growing is peaking across the United States. Outdoor gardens are dormant, and fresh greens are expensive at the grocery store. Pea microgreens give you a fast, low-cost way to grow your own food indoors with nothing more than a windowsill and a tray.
They’re also one of the most forgiving crops for beginners. Even if you make mistakes, you’ll still get something edible in 10 days. And once you dial in the method, you can grow a continuous supply all winter.
Start your first tray this week. Soak the seeds tonight, plant tomorrow, and you’ll be harvesting thick, sweet pea shoots before the new year.