Your compost pile was thriving in October—steaming, breaking down kitchen scraps in days, practically running itself. Now, mid-December, it’s a cold, lifeless heap that hasn’t budged in weeks. You’ve turned it twice. Nothing. Here’s the truth most composting guides skip: turning alone won’t restart a winter compost pile. The real culprits are invisible, and fixing them requires adjusting three specific variables most gardeners never measure.
Why winter shuts down your compost (and it’s not just temperature)
Compost heating relies on microbial activity—billions of bacteria generating warmth as they digest organic matter. When ambient temperatures drop below 40°F (4°C), these microbes don’t die, but they do go dormant. The pile cools, decomposition stalls, and you’re left with frozen vegetable peels until spring.
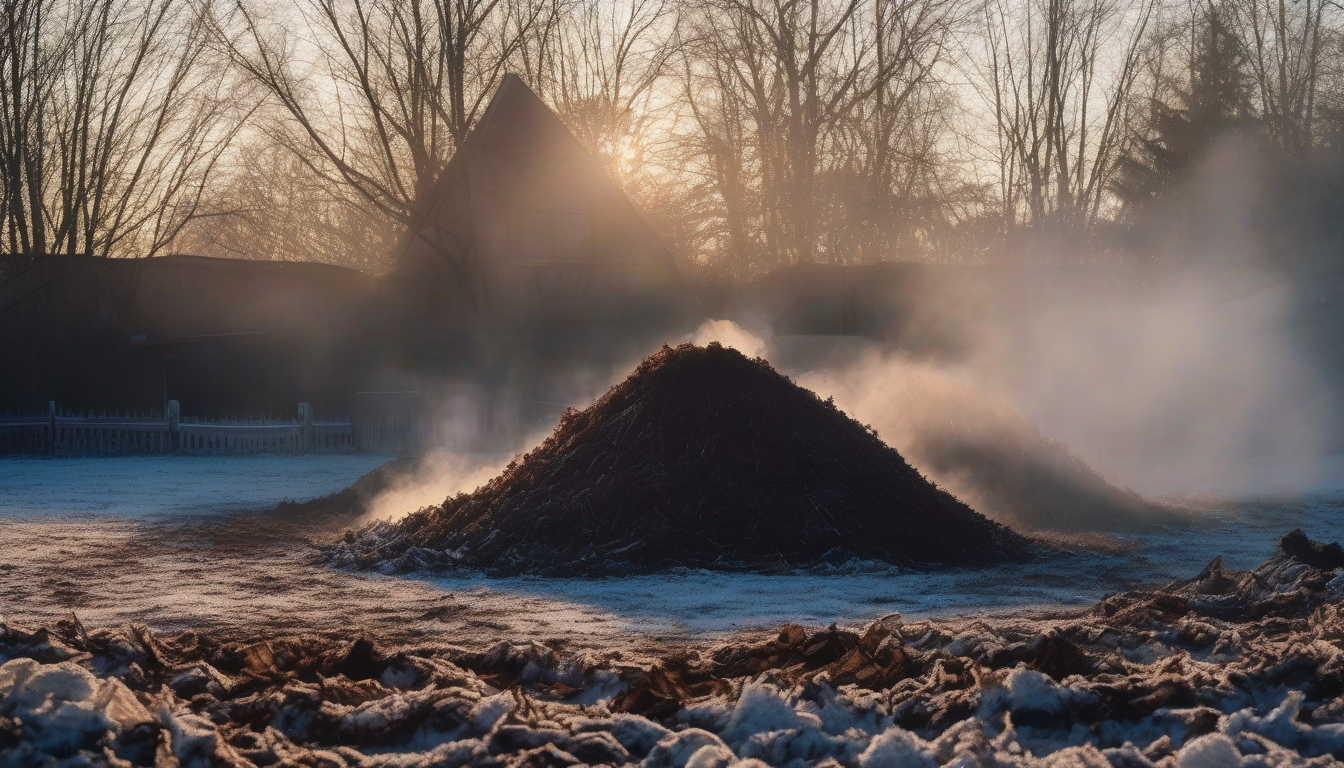
But here’s where it gets interesting. A well-built winter compost pile can maintain 90-140°F (32-60°C) at its core, even when snow blankets the exterior. The difference isn’t luck. It’s engineering three factors most backyard composters ignore: carbon-to-nitrogen ratio, moisture content, and thermal mass.

The carbon ratio mistake killing your winter pile
Most winter compost piles fail because they’re too “green.” You’re adding kitchen scraps (high nitrogen) but not enough carbon-rich “browns” to fuel the microbial furnace. In summer, you can get away with a loose 25:1 carbon-to-nitrogen ratio. Winter demands 30:1 or even 35:1.
Why? Carbon is the energy source. Microbes burn it to generate heat. Nitrogen is the protein they need to reproduce. Too much nitrogen without enough carbon, and the pile goes anaerobic—cold, slimy, and smelly.
Practical winter carbon sources:
- Shredded cardboard (tear Amazon boxes into strips)
- Dry leaves stored in bags from fall
- Sawdust from untreated wood
- Straw or hay (avoid seed heads)
- Shredded newspaper (black and white only)
For every cup of kitchen scraps you add in winter, mix in at least three cups of dry carbon material. This isn’t optional. It’s the difference between a pile that heats and one that freezes solid.
Moisture: The invisible winter compost killer
Your pile might look fine, but squeeze a handful. If it doesn’t release a few drops of water when compressed, it’s too dry. If water streams out, it’s waterlogged. Winter compost needs the moisture content of a wrung-out sponge—about 50-60%.
Dry winter air and frozen materials make moisture management tricky. Frozen vegetable scraps contain ice, not available water. When you turn the pile, that ice needs to melt and distribute evenly, or the microbes can’t access it.
Winter moisture fixes:
- Add warm (not boiling) water when turning the pile in winter
- Chop materials smaller—more surface area means better moisture distribution
- Cover the pile with a tarp to prevent rain from waterlogging it or snow from adding too much cold moisture
- If the pile is soggy, add dry leaves or cardboard to absorb excess
Check moisture weekly. In December 2025, with fluctuating freeze-thaw cycles across much of the US and Western Europe, you’ll need to adjust more often than you think.

Insulation tricks that actually work
A small pile (under 3 feet / 1 meter in all dimensions) will always struggle in winter. It simply can’t generate enough heat to overcome the cold. The minimum winter compost pile size is 3x3x3 feet (1x1x1 meter)—that’s 27 cubic feet or about 765 liters of material.
If you don’t have that volume, you have three options:
Option 1: Insulate the exterior. Surround your existing pile with straw bales, bags of leaves, or even old blankets wrapped in plastic. Create a 6-inch (15 cm) insulation layer on all sides except the top (you need access).
Option 2: Build a hot compost batch. Collect materials for 2-3 weeks, then build the entire pile in one session. Layer 6 inches (15 cm) of carbon, 2 inches (5 cm) of nitrogen-rich greens, repeat. Add warm water between layers. This “batch method” generates intense initial heat—often hitting 130°F (54°C) within 48 hours.
Option 3: Move it. If you have a garage, shed, or covered area, relocate your compost bin there. Even an unheated garage stays 10-20°F (5-10°C) warmer than outdoors, enough to keep microbes active.
The winter turning schedule nobody follows
In summer, you turn compost every 3-5 days. In winter, turn only when the core temperature drops below 90°F (32°C). Use a compost thermometer (or a long meat thermometer) to check the center.
Why? Every time you turn a winter pile, you expose the warm interior to cold air. You’re trading aeration for heat loss. Only turn when the microbial activity has genuinely slowed, indicated by dropping core temperature.
When you do turn:
- Move exterior material to the center
- Add fresh carbon and a bit of nitrogen
- Add warm water if needed
- Rebuild the pile to at least 3x3x3 feet
- Cover immediately

What to do if your pile is already frozen solid
If your compost is a frozen block right now in mid-December, don’t panic. You can restart it, but it requires a hard reset.
Step 1: Wait for a day above freezing (check the forecast for your area).
Step 2: Break apart the frozen pile with a garden fork. Set aside the frozen chunks.
Step 3: Collect high-nitrogen materials—coffee grounds from a café, fresh grass clippings if available, or even a shovelful of finished compost or garden soil (contains active microbes).
Step 4: Rebuild in layers: 6 inches carbon, 2 inches high-nitrogen material, sprinkle of soil, warm water. Repeat.
Step 5: Insulate heavily and cover. Check core temperature in 48 hours.
The cold compost alternative (and when to use it)
If restarting a hot pile feels like too much work, switch to cold composting until spring. This means accepting that decomposition will take 6-12 months instead of 6-8 weeks.
Cold composting rules:
- Keep adding materials in thin layers
- Don’t worry about ratios or turning
- Cover to prevent pests
- Accept that it won’t break down until temperatures rise
This isn’t failure. It’s a legitimate strategy for low-maintenance composting. You’re essentially creating a holding system that will activate in March or April when soil temperatures rise above 50°F (10°C).

Your winter compost action plan (start today)
Here’s what to do this week, based on the current date of December 16, 2025:
-
Measure your pile. Is it at least 3x3x3 feet? If not, start collecting materials to rebuild it larger.
-
Check the carbon ratio. Squeeze a handful. Does it feel like coffee grounds (too much nitrogen) or dry leaves (too much carbon)? Adjust by adding the opposite.
-
Test moisture. Squeeze test. Add warm water or dry carbon as needed.
-
Insulate. Even a simple tarp reduces heat loss by 30-40%.
-
Get a thermometer. You can’t manage what you don’t measure. A $15 compost thermometer will save you months of guessing.
Your compost doesn’t have to freeze for the next three months. With the right carbon ratio, proper moisture, and adequate insulation, you can keep that microbial furnace running straight through winter—and have finished compost ready when spring planting begins.